1. File -> New -> New Module -> Module a is temporarily named in the Android library example
2. Modify the build.gradle under the newly created ModuleA
Add publishnonDefault true under the Android entry (otherwise there will be no compiled jar folder and files in the build folder)
3. If there are other dependent jar files, put them in the ModuleA lib folder and add the link path under dependency
dependencies {
    implementation fileTree(include: ['*.jar'], dir: 'libs')
    testImplementation 'junit:junit:4.12'
    implementation 'com.android.support:appcompat-v7:28.0.0-alpha3'
    androidTestImplementation 'com.android.support.test:runner:1.0.2'
    androidTestImplementation 'com.android.support.test.espresso:espresso-core:3.0.2'
    implementation files('libs/xxx-classes.jar')
}
4. Add the following code
task clearJar(type: Delete) {
    delete 'build/libs/xyz.jar'////This line means that if you've already packaged once, and you're packing again, delete the original package
}

task makeJar(type: Copy) {
    from('build/intermediates/intermediate-jars/release/') // this line indicates the path to the file to be packaged, which is actually classes.jar under that path according to the following content
    into('build/libs/') //this line indicates the path where the package will be generated after packaging, that is, where the generated package exists
    include('classes.jar') // see this line, if you have knowledge of package splitting, you can see that this line it will just package some classes
    rename ('classes.jar', 'xyz.jar')
}

makeJar.dependsOn(clearJar, build)
Note: the folder name in the pink box may vary with the as version
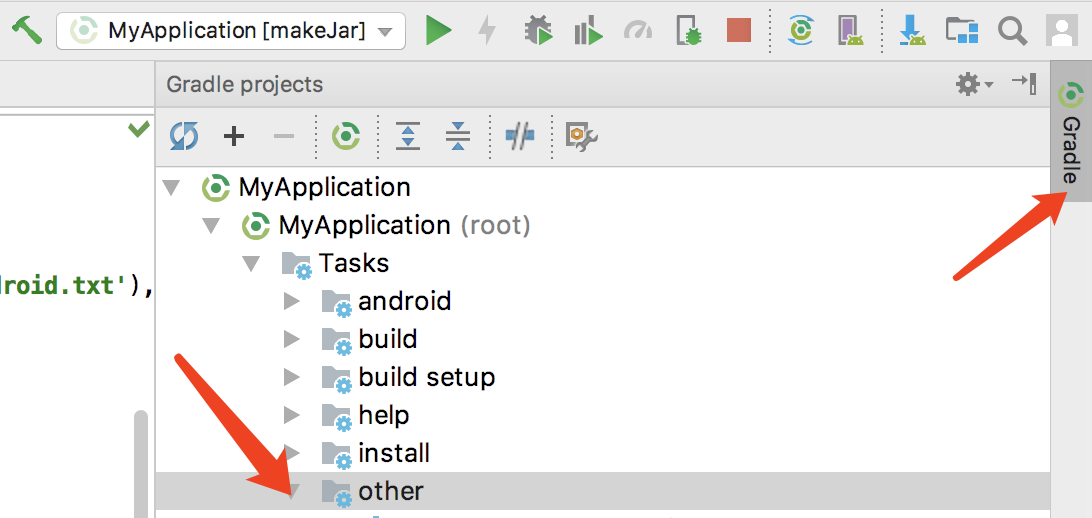
5. Find the makejar in this folder, double-click it, and the compiled xyz.jar will be found in the build/LIBS/directory under ModuleA after compilation

If you want to use this file in unity3d, just drop it in the directory unity3d assets/plugins