Tag Archives: Solution

Failed to install APK, error code: install_ FAILED_ INVALID_ Apk solution

Development environment: Android studio

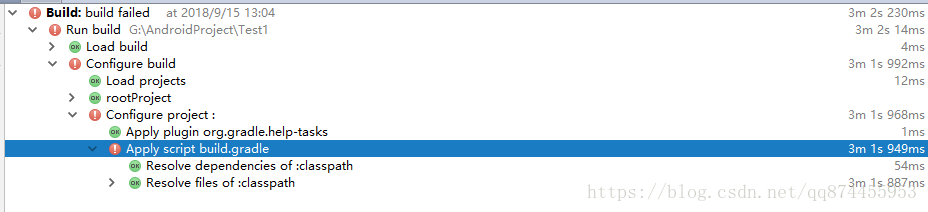
After copying a project, the package name and application ID are modified. After further development of the program, it is found that it cannot be installed on the mobile phone. The error code is: installation failed with message failed to finalize session:INSTALL_ FAILED_ INVALID_ Apk, as shown in the figure below:

It’s a big headache. There will be no error when copying the project (for copying and modifying the project in Android studio, please refer to: http://blog.csdn.net/Lone1yCode/article/details/79087495 )

Crazy Baidu found a very effective way, as shown in the following figure:

As shown in the figure above, on Android studio, click file, settings, build, execution, deployment, debugger and instant run, cancel the check and try to install again. It’s successful!!

The function of instant run is to speed up the construction and reconstruction. When running the program for the first time, the speed is the same as the normal speed. However, after making many modifications to the program, if you run the program again, Android studio will quickly complete the construction, which is much faster than running the program for the first time. You can learn more about Baidu by yourself.

In addition, I can only copy the project, and the running program will give this error prompt. If the edited project is not copied, it is recommended to start instant run.

Build failed for Android studio new project

Build failed for Android studio new project

Error information

org.gradle.initialization.ReportedException: org.gradle.internal.exceptions.LocationAwareException: A problem occurred configuring root project 'Test1'.

Caused by: org.gradle.internal.exceptions.LocationAwareException: A problem occurred configuring root project 'Test1'

Caused by: org.gradle.internal.exceptions.LocationAwareException: A problem occurred configuring root project 'Test1'

##The solution
is to build.gradle The buildscript and allprojects in are changed to the following configuration

this is the original configuration

Change to the following code:

buildscript {

    repositories {
        // maven
        def cn = "http://maven.aliyun.com/nexus/content/groups/public/"
        def abroad = "http://central.maven.org/maven2/"
        // First download the jar from the url if not found, then look in the artifactUrls
        maven {
            url cn
            artifactUrls abroad
        }
        maven { url "http://maven.aliyun.com/nexus/content/repositories/jcenter"}
        google()
    }
    dependencies {
        classpath 'com.android.tools.build:gradle:3.1.4'
        

        // NOTE: Do not place your application dependencies here; they belong
        // in the individual module build.gradle files
    }
}

allprojects {
    repositories {
        // maven
        def cn = "http://maven.aliyun.com/nexus/content/groups/public/"
        def abroad = "http://central.maven.org/maven2/"
        // First download the jar from the url if not found, then look in the artifactUrls
        maven {
            url cn
            artifactUrls abroad
        }
        maven { url "http://maven.aliyun.com/nexus/content/repositories/jcenter"}
        google()
    }
}

The situation and solution of installation failed

    Failure [INSTALL_ PARSE_ FAILED_ MANIFEST_ MALFORMED: Failed parse during installPackageLI: /data/app/vmdl1028823254.tmp/ base.apk (at Binary XML file line #97): Invalid process name A in package com.mmjrxy.school : must have at least one ‘


    2. When installation failed appears on Xiaomi mobile phone

    Solution: just turn off the MIUI optimization option in the developer options, and some computers need to turn on the option of installing app through USB.


    3. “Install” appears_ FAILED_ UPDATE_ INCOMPATIBLE ”

    Solution: maybe it’s because it’s not unloaded completely. You can solve it by the following methods:

    settings-> applications-> mange
    applications-> select the application-> Select “unistall”. Set/data/system/ packages.xml Delete the relevant information of the app in, and then install it again, because after ADB install, it will packages.xml Add the corresponding program information in.


    4. Other situations can be solved by deleting the build folder and then cleaning and building project again.

    (if you have other problems, please add)