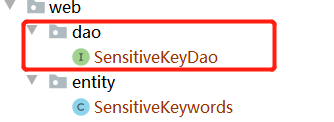
Springboot initialization error: failed to instantiate [XXX]: specified class is an interface
I reported an error because there is an xxxdao interface with the same name in the package of another module. Just modify the interface name


Springboot initialization error: failed to instantiate [XXX]: specified class is an interface
I reported an error because there is an xxxdao interface with the same name in the package of another module. Just modify the interface name


Solution:
Looking at the nginx log, there is no /var/cache/nginx/proxy/temp permission. Authorize it.
sudo chmod a+w /var/cache/nginx/proxy_temp -R
How to Install nginx yum:
Add repo of nginx:
echo '[nginx]
name=nginx repo
baseurl=http://nginx.org/packages/centos/7/x86_64
gpgcheck=0
enabled=1' > /etc/yum.repos.d/nginx.repo
install
yum update
yum install nginx
Did you install the latest version of nginx directly?
log]$ whereis nginx
nginx: /usr/sbin/nginx /usr/lib64/nginx /etc/nginx /usr/share/nginx /usr/share/man/man8/nginx.8.gz
Then you need to configure the normal user path of nginx. Create the relevant directory and copy the configuration file. Authorize proxy_temp. As above.
log]$ mkdir -p /data/nginx/log /data/nginx/run /data/nginx/conf.d
log]$ cp /etc/nginx/nginx.conf /data/nginx/
log]$ cp /etc/nginx/conf.d/default.conf /data/nginx/conf.d/
sudo chmod a+w /var/cache/nginx/proxy_temp -R
log]$ vi /data/nginx/nginx.conf
#user  nobody;
worker_processes  auto;

error_log  /data/nginx/log/error.log notice;
pid        /data/nginx/run/nginx.pid;


events {
    use epoll;
    worker_connections  1024;
}


http {
    include       /etc/nginx/mime.types;
    default_type  application/octet-stream;

    log_format  main  '$remote_addr - $remote_user [$time_local] "$request" '
                      '$status $body_bytes_sent "$http_referer" '
                      '"$http_user_agent" "$http_x_forwarded_for"';

    access_log  /data/nginx/log/access.log  main;

    sendfile        on;
    #tcp_nopush     on;

    keepalive_timeout  65;

    #gzip  on;

    include /data/nginx/conf.d/*.conf;
}
Hope this article will help you.
API ‘variant.getPackageApplication()’ is obsolete and has been replaced with ‘variant.getPackageApplicationProvider()’.
It will be removed in version 5.0 of the Android Gradle plugin.
For more information, see https://d.android.com/r/tools/task-configuration-avoidance.
To determine what is calling variant.getPackageApplication(), use -Pandroid.debug.obsoleteApi=true on the command line to display more information.
Affected Modules: app
Solution:
Modify
variant.getPackageApplication().outputDirectory
to
variant.getPackageApplicationProvider().get().outputDirectory
NameError: name 'By' is not defined
Reason: the by class does not have a package, and the system cannot recognize the by object
Solution:
Import by package:
from selenium.webdriver.common.by import By
———————————-Warm tips—————————————
Automatic package guide shortcut: Alt + ENTER
reason:
Redis compilation failed before, for example, PKG config plug-in is not installed. This error will be reported when redis compiles again after PKG config is installed, because the cache file remains when the last compilation fails.
Solution:
Clear the residual files before recompiling:
make distclean && make
The port is occupied. There may be a conflict between the port settings of the previous project and the current project.
solution:
1. Open the terminal
2. Enter netstat - ano | findstr 80
3. Find the PID occupied by port 80
4. Execute the close command, tskill + PID, and terminate the port operation.
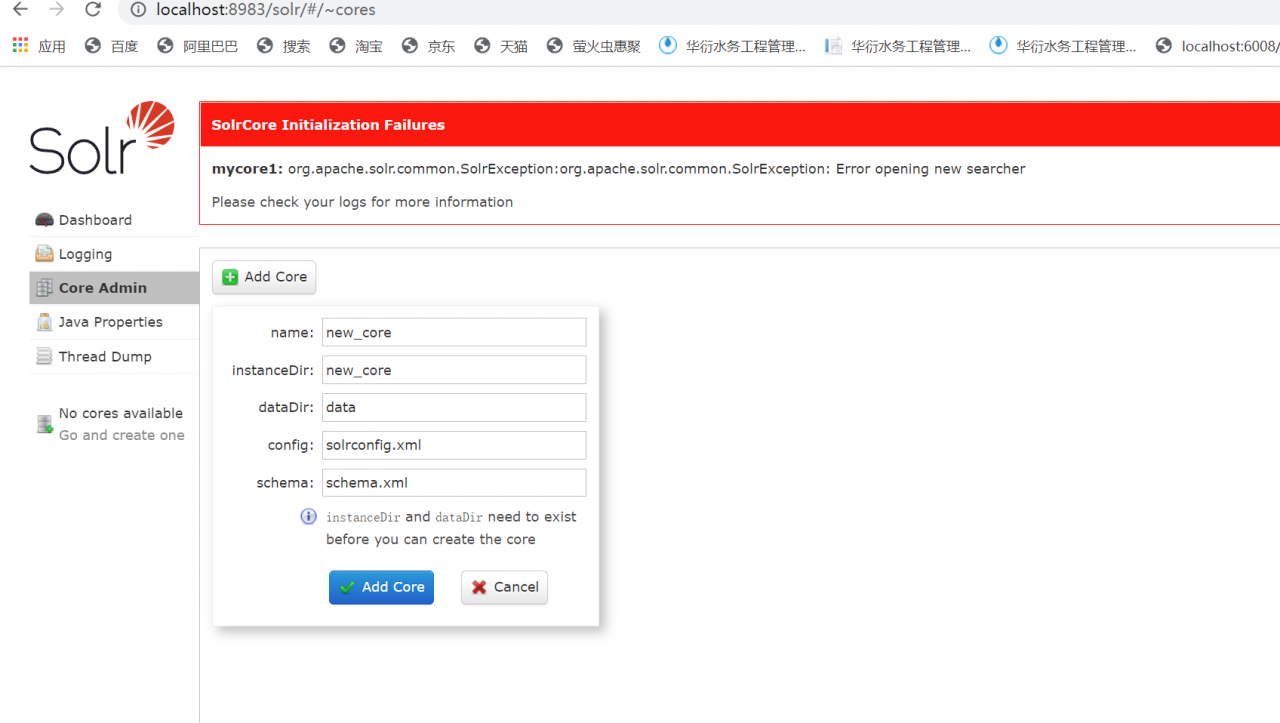
1. The exception thrown in the code causes Solr not to be closed. The control panel prompts as follows. What should I do?

2. Solution
This is caused by an index error
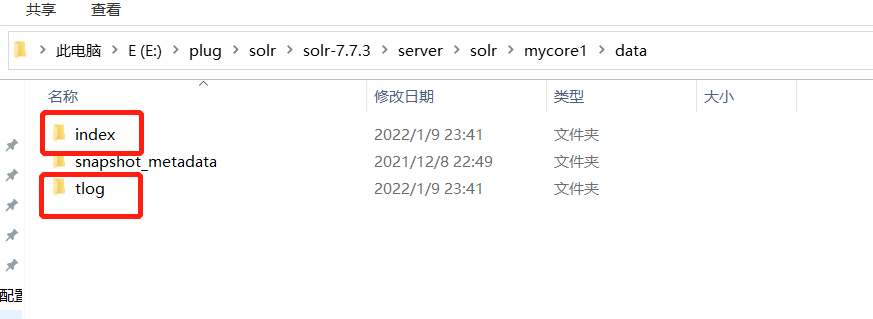
After closing the Solr service, find the data in the core and delete the two. However, the index will be lost. At this time, you need to import the data again

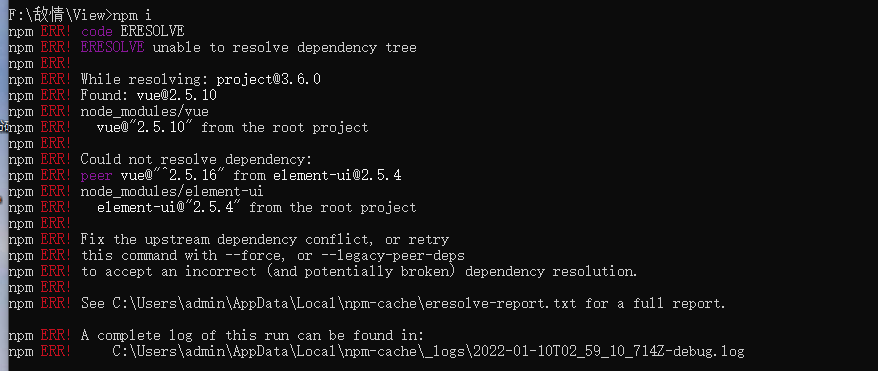
The specific problems are as follows:

Problem analysis: npm} version is too high
Solution: reduce the NPM version
npm install [email protected] -g
When writing Python today, I referenced CV2 when packaging with pyinstaller, and this error occurred:
ImportError: OpenCV loader: missing configuration file: ['config.py']. Check OpenCV installation.
Create a new Python file and get the path of OpenCV:
import cv2
print(cv2.__file__)
Here I get: C:\Anaconda3\lib\site-packages\cv2\__init__.py
After you reuse pyinstaller for packaging, add the paths parameter:
pyinstaller main.py -F --paths="C:\Anaconda3\lib\site-packages\cv2"
No error reported, successful operation!