No valid host was found. There are not enough hosts available —— openstack directly reports an error when building a virtual machine
1.Problem phenomenon:
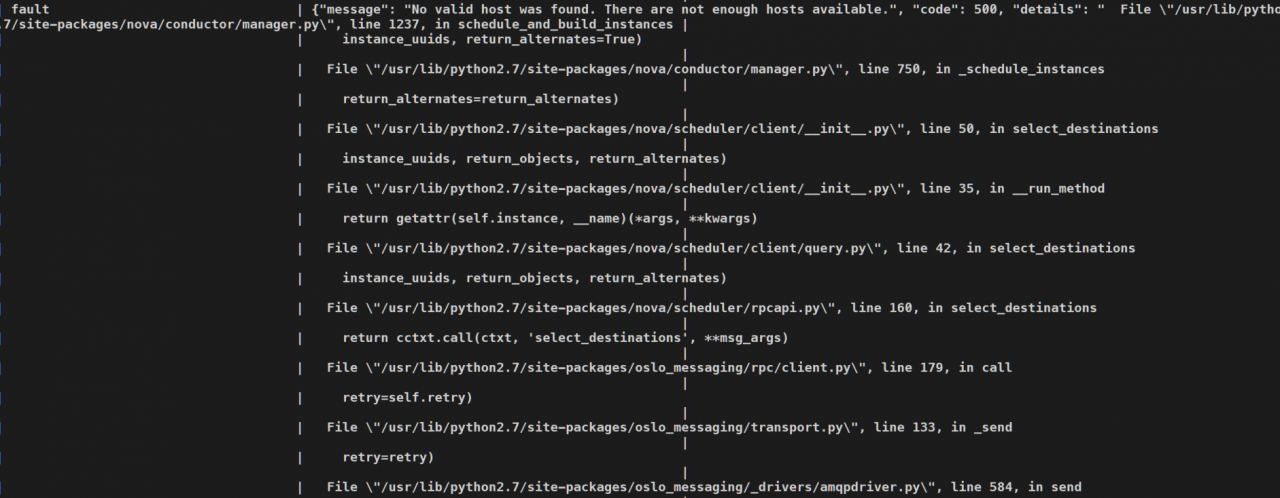
There is only one computing node in this environment. Create a virtual machine and report an error directly. Use Nova show to see the error, as shown in the figure below:
“message”: “No valid host was found. There are not enough hosts available.”, “code”: 500
2.Solutions:
1. Check the Nova compute log of the computing node and find the following logs:
2019-11-21 19:47:09.484 8 ERROR nova.scheduler.client.report [req-cbc37e88-16be-4b5b-be98-d889cd1b01dc - - - - -] [req-a5a6d438-3f63-49aa-9dd2-98d061b122b4] Failed to create resource provider record in placement API for UUID d878a164-6499-43d4-9772-b77107a1bb8c. Got 409: {"errors": [

{"status": 409, "request_id": "req-a5a6d438-3f63-49aa-9dd2-98d061b122b4", "detail": "There was a conflict when trying to complete your request.\n\n Conflicting resource provider name: compute1 already exists. ", "title": "Conflict"}

2019-11-21 19:47:09.485 8 ERROR nova.compute.manager [req-cbc37e88-16be-4b5b-be98-d889cd1b01dc - - - - -] Error updating resources for node compute1.: ResourceProviderCreationFailed: Failed to create resource provider compute1
found resourceprovidercreationfailed: failed to create resource provider compute1. If you suspect that the database resource provider table has not been created, continue to check nova-nova-scheduler.log
2. View nova-scheduler.log
2019-11-21 20:18:43.360 29 INFO nova.filters [req-448bd5fa-ddc8-45d9-9b8b-a63bdb691335 e0111848d3904a7288df61cac5163f4f 9be97009f556459cb1814232dbedb4a3 - default default] Filter RetryFilter returned 0 hosts
2019-11-21 20:18:43.362 29 INFO nova.filters [req-448bd5fa-ddc8-45d9-9b8b-a63bdb691335 e0111848d3904a7288df61cac5163f4f 9be97009f556459cb1814232dbedb4a3 - default default] Filtering removed all hosts for the request with instance ID 'c9542c1c-191e-49f2-815a-fdcacc081af6'. Filter results: ['RetryFilter: (start: 0, end: 0)']
3. Enter data to view database table
mysql> use nova_api;
mysql[nova_api] >  select * from resource_providers;
+---------------------+---------------------+----+--------------------------------------+----------+------------+----------+------------------+--------------------+
| created_at          | updated_at          | id | uuid                                 | name     | generation | can_host | root_provider_id | parent_provider_id |
+---------------------+---------------------+----+--------------------------------------+----------+------------+----------+------------------+--------------------+
| 2019-11-21 06:17:39 | 2019-11-21 06:17:41 |  3 | 16d1bd53-7919-4fef-9a11-a0e98c149823 | compute1 |          1 |     NULL |                3 |               NULL |
+---------------------+---------------------+----+--------------------------------------+----------+------------+----------+------------------+--------------------+
1 row in set (0.00 sec)
found data. If the virtual machine is re created, an error will still be reported,
4. Try to remove the compute node from the Nova service list and rejoin the cluster
# Disable the nova-compute service on the compute node
nova service-delete <compute node's uuid>

# Start the nova-compute service of the compute node and let the compute node re-register
Try to create a virtual machine, find or report an error. Go back and check the log of Nova compute, and find that there was a conflict when trying to complete your request. It suggests contradiction
5. Enter the database again and execute select * from resource_ providers;
mysql> use nova_api;
mysql[nova_api] >  select * from resource_providers;
+---------------------+---------------------+----+--------------------------------------+----------+------------+----------+------------------+--------------------+
| created_at          | updated_at          | id | uuid                                 | name     | generation | can_host | root_provider_id | parent_provider_id |
+---------------------+---------------------+----+--------------------------------------+----------+------------+----------+------------------+--------------------+
| 2019-11-21 06:17:39 | 2019-11-21 06:17:41 |  3 | 16d1bd53-7919-4fef-9a11-a0e98c149823 | compute1 |          1 |     NULL |                3 |               NULL |
+---------------------+---------------------+----+--------------------------------------+----------+------------+----------+------------------+--------------------+
1 row in set (0.00 sec)
The newly registered compute node was found, but the resource_ The UUID of providers has not changed. It is suspected that the resource was not updated when the compute node was registered_ Providers, try to delete resource_ providers;
6. Search the official website and find the operation resource_ Openstack command of providers to perform the following operations
Related documents: https://docs.openstack.org/osc-placement/latest/cli/index.html
Related software package: https://cbs.centos.org/kojifiles/packages/python-osc-placement/1.3.0/1.el7/noarch/python2-osc-placement-1.3.0-1.el7.noarch.rpm
# Install the osc-placement package and generate the command line tool

# Execute the following command.
export OS_PLACEMENT_API_VERSION=1.10
openstack allocation candidate list --resource VCPU=1

# View the current resource provider
[root@control1 ~]# openstack resource provider  list
+--------------------------------------+----------+------------+
| uuid                                 | name     | generation |
+--------------------------------------+----------+------------+
| 16d1bd53-7919-4fef-9a11-a0e98c149823 | compute1 |          2 |
+--------------------------------------+----------+------------+

# Stop the compute node nova-compute service
# delete compute1 from service
nova service-delete <uuid>

# Delete the current resource provider
openstack resource provider delete 16d1bd53-7919-4fef-9a11-a0e98c149823

# Restart the nova-compute service and let it register automatically
# View the current resource provider
[root@control1 ~]# openstack resource provider  list
+--------------------------------------+----------+------------+
| uuid                                 | name     | generation |
+--------------------------------------+----------+------------+
| b32cd7b5-26c6-4998-97f1-79fa2315871b | compute1 |          2 |
+--------------------------------------+----------+------------+


# # Execute the following command to verify that the data is updated
export OS_PLACEMENT_API_VERSION=1.10
openstack allocation candidate list --resource VCPU=1
The virtual machine is created successfully
Similar Posts:
- Error openstack resource loading Exception (Two Errors to Solve]
- Missing value auth-url required for auth plugin password [Solved]
- ConnectFailure: Unable to establish connection to http://127.0.0.1:9696/v2.0/ports/f7eaf0bb-fb46-4a18-ab13-5dca89e7ec51.json
- Openstack creates a new instance and solves various error reports
- [Solved] Openstack Create instance error: **aborted: Failed to allocate the network(s), not rescheduling
- [Solved] Dubbo Error: No provider available for the service xxx from registry localhost:9090
- Python: How to get the MAC Address
- Caffe Error-nvcc fatal:Unsupported gpu architecture ‘compute_20’
- End of script output before headers: app.wsgi(openstack ceilomter-api)
- Idea Error: No provider available from registry 127.0.0.1:2181 for service