Yesterday, I imported a previous project from Android Studio itself, and there was no display problem when compiling, but the following dialog box was displayed when running:

Installation failed with message Invalid File: C:\2ld\serialdemo20170224g2\serialdemo20170224g2\serialdemo20170224g\app\build\intermediates\split-apk\debug\slices\slice_1.apk.
It is possible that this issue is resolved by uninstalling an existing version of the apk if it is present, and then re-installing.
WARNING: Uninstalling will remove the application data!
Do you want to uninstall the existing application?
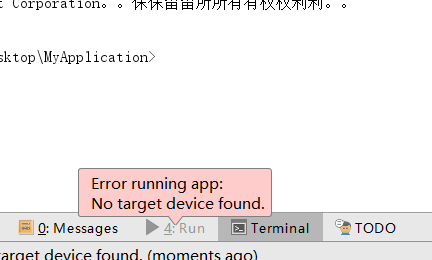
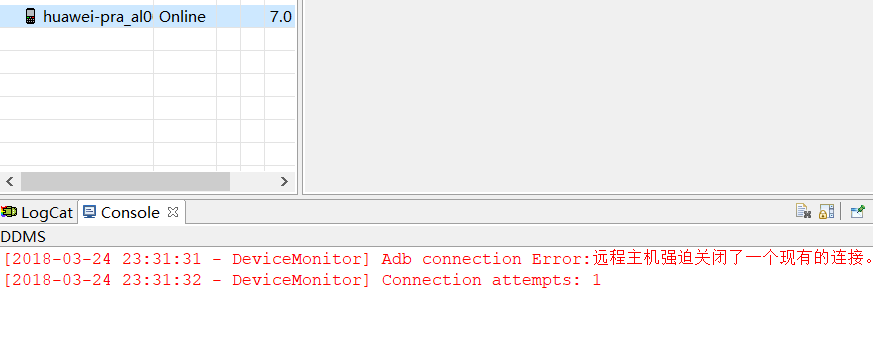
![]() After clicking Ok to close the dialog, the lower left corner displays:
After clicking Ok to close the dialog, the lower left corner displays:

Session ‘SerialTest’: Error Installing APK s
No error log at all
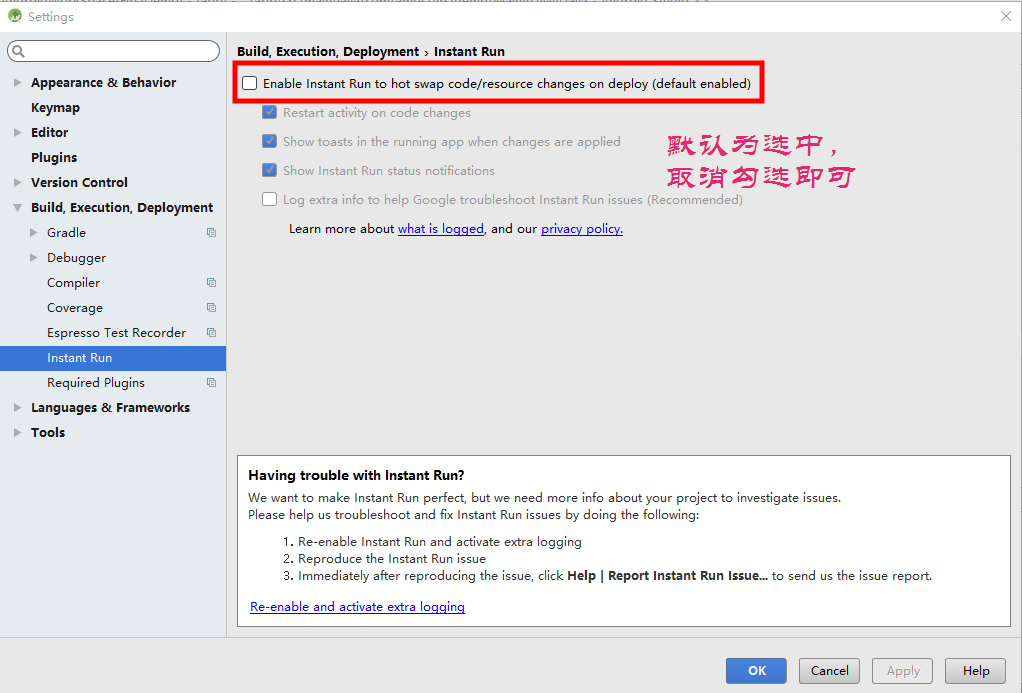
Solution:
Turn off instant run , in file-setings…-build, execution, Deployment-instant Run. After closing, re-run the project, still error, then there will be an error log.
01-01 20:21:26.519 707-707/com.jspdz.zw2.serialdemo E/AndroidRuntime: FATAL EXCEPTION: main
Process: com.jspdz.zw2.serialdemo, PID: 707
java.lang.RuntimeException: Unable to start activity ComponentInfo{com.jspdz.zw2.serialdemo/com.jspdz.zw2.serialdemo.MainActivity}: java.lang.NullPointerException: Attempt to invoke virtual method ‘int com.jspdz.zw2.serialdemo.SerialCommand.PCD_M1Read(short, byte[])’ on a null object reference
![]() It turned out to be an error caused by a null pointer and the class was not instantiated.
It turned out to be an error caused by a null pointer and the class was not instantiated.